
The Kitchn: I’ve made hundreds of cherry pies, but this the only one I’ll ever bake
Cherry season comes and goes quickly, but our love for cherry pie lingers all year long. The good news? This ruby-hued pie can be made with fresh cherries or frozen cherries, making it just as suitable for Thanksgiving as it is your July to-do list.
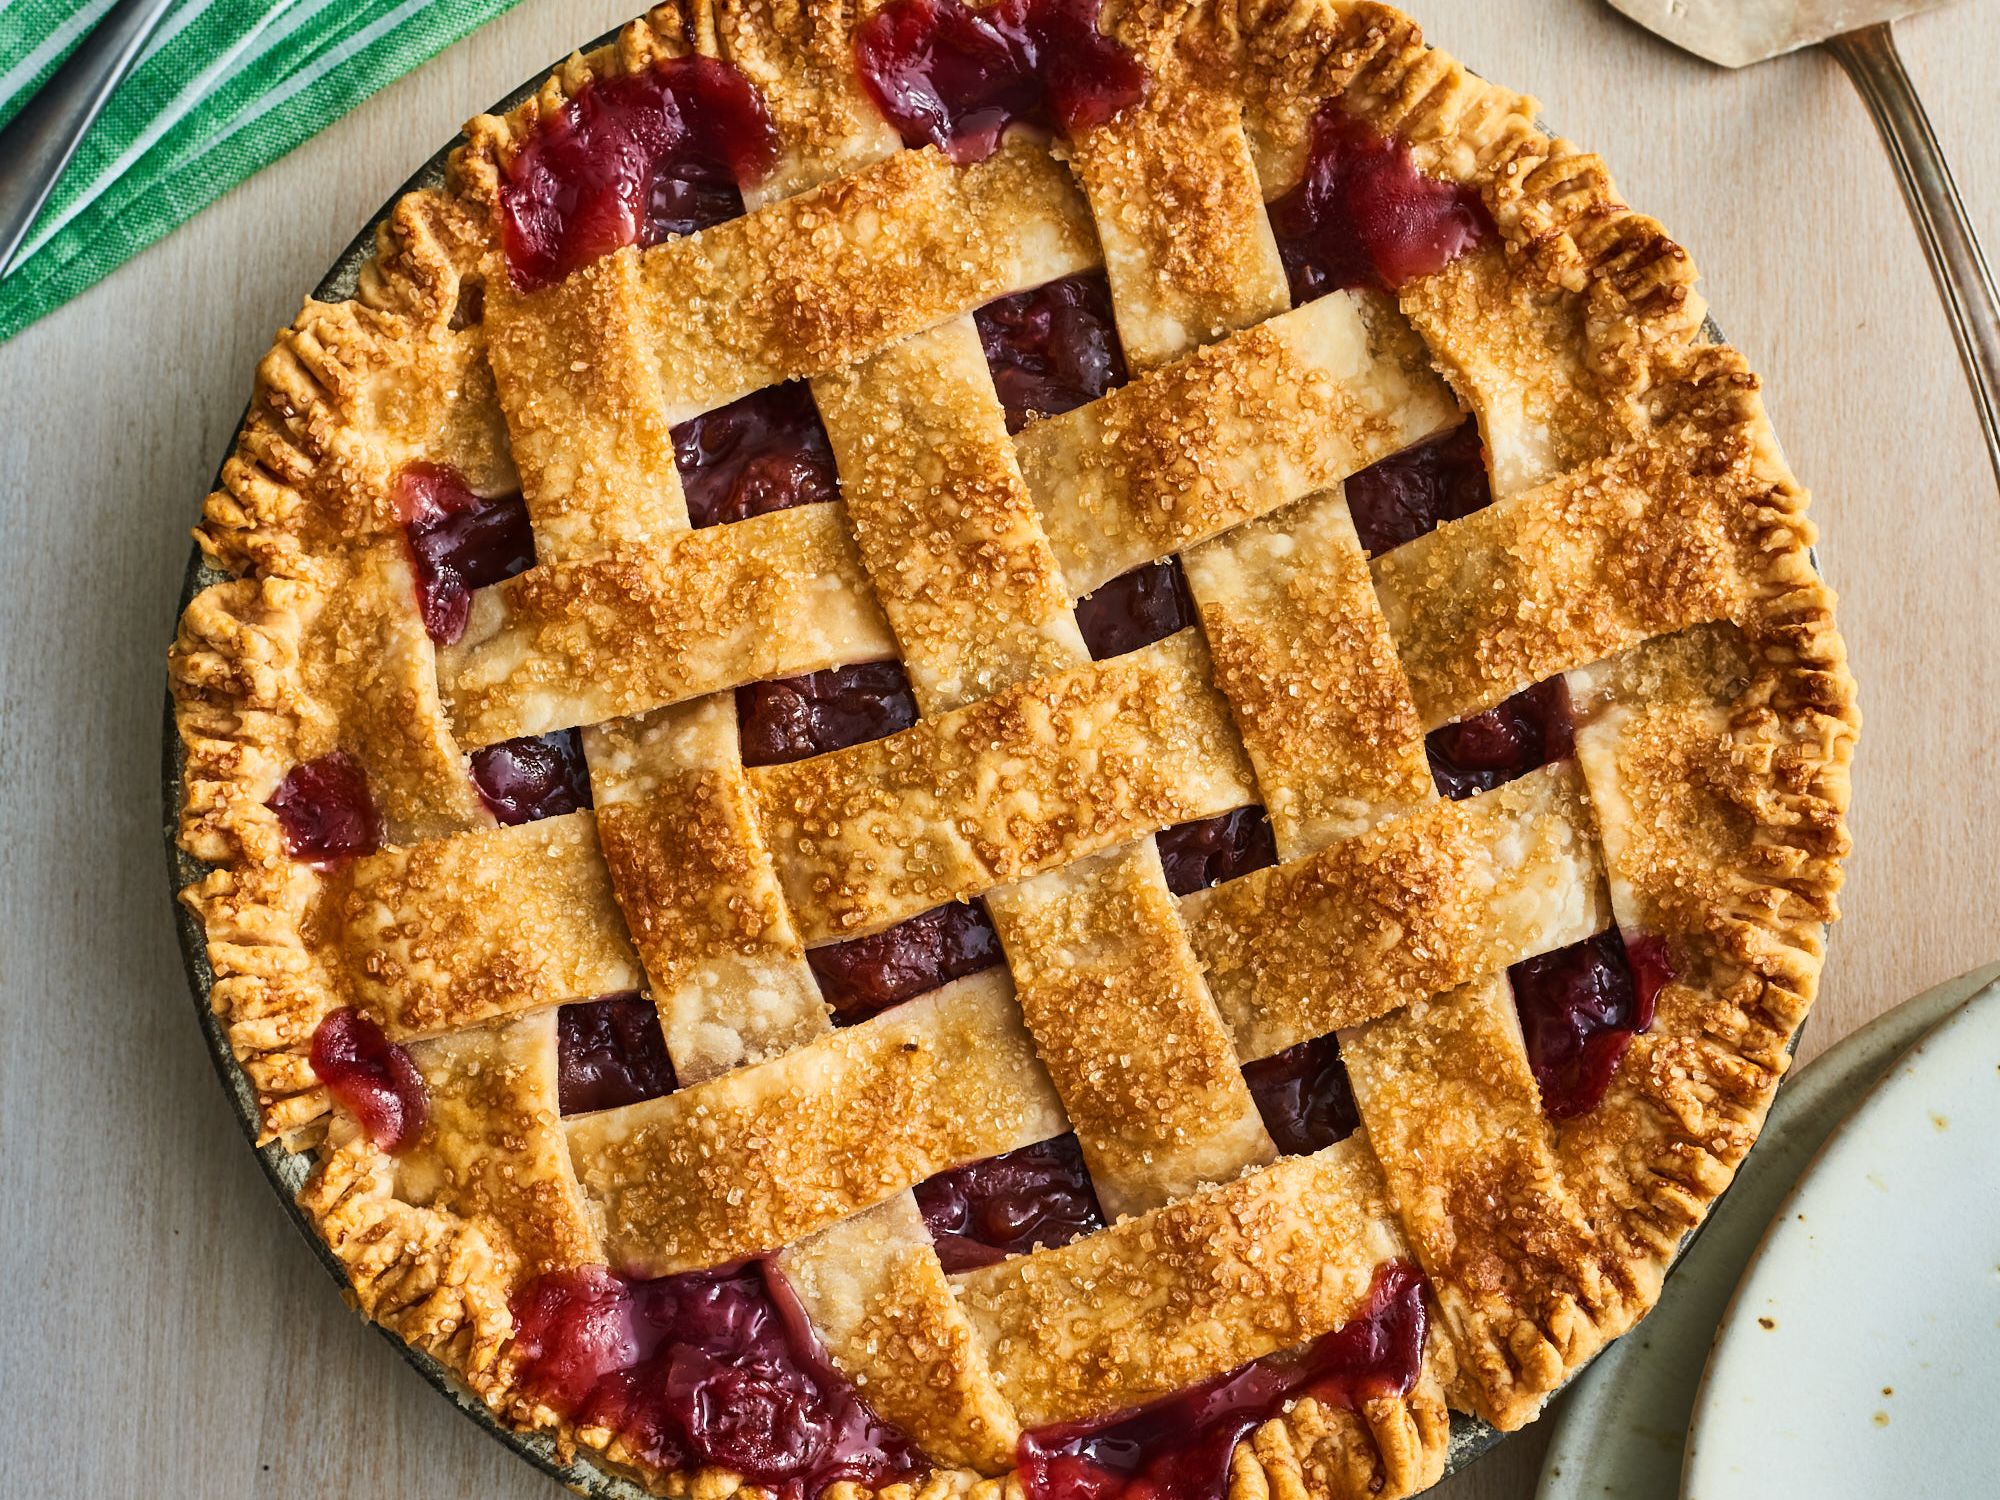
This cherry pie features a lightly sweetened filling that lets the cherries shine, and a gorgeous lattice crust that absolutely anyone can master. You can use this pie’s easy, foolproof formula to make just about any stone fruit pie you please, from peach to plum to nectarines (or a blend of all three). Plus, we’ll teach you how to make the filling in advance, and store it until it’s time for pie.
Why you’ll love it
Key ingredients in Cherry Pie
Helpful swaps
Helpful tips
Make-ahead and storage tips
Cherry Pie
Makes 1 (9-inch) pie; serves 8
For the filling:
1/3 cup granulated sugar
2 tablespoons cornstarch
1 1/2 pounds fresh sweet cherries (about 4 1/2 cups), stemmed and pitted
1 teaspoon vanilla extract
1/4 teaspoon kosher salt
For the pie:
1 (14- to 16-ounce) package prepared pie crusts, thawed if frozen (or 2 homemade pie crusts )
1 large egg
1 teaspoon water
1 tablespoon coarse sugar, such as demerara or turbinado (optional)
1. Whisk 1/3 cup granulated sugar and 2 tablespoons cornstarch together in a large saucepan. Stir in 1 1/2 pounds pitted sweet cherries, 1 teaspoon vanilla extract, and 1/4 teaspoon kosher salt. Cook over medium-high heat, stirring and scraping often with a flexible spatula, until the cherries begin to soften, the juices that come out thicken and reduce, and a film begins to form on the bottom of the saucepan, 5 to 6 minutes.
2. Remove the saucepan from the heat and let the mixture cool completely, about 1 1/2 hours. Meanwhile, roll out the pie doughs.
3. Roll out one pie crust into a 12-inch round if needed. Transfer it to a 9-inch standard pie pan (not deep dish). Press the dough into the bottom and up the sides of the pie plate.
4. Roll out the second pie dough onto a sheet of parchment paper into an 11-inch round if needed. Slide onto a baking sheet. Refrigerate both pie doughs.
5. About 20 minutes before the filling is ready, place a baking sheet on the middle rack of the oven and heat the oven to 375 F. Whisk 1 large egg and 1 teaspoon water together with a fork in a small bowl to make an egg wash.
6. When the filling is ready, brush the pie dough in the pie pan with a thin layer of the egg wash (save the remaining for brushing the top crust). Scrape the cooled filling into the crust and arrange into an even layer.
7. Cut the pie dough on the parchment into 1-inch wide strips. Transfer every other strip to the top of the pie, spacing them evenly. Create a lattice pattern by alternating and folding in the remaining strips (find a step-by-step tutorial at https://www.thekitchn.com/how-to-make-a-lattice-pie-crust-cooking-lessons-from-the-kitchn-191672 ). Crimp the edges to seal.
8. Brush the lattice crust and edges of the pie dough with the egg wash, then sprinkle with 1 tablespoon coarse sugar if using.
9. Place the pie on the hot baking sheet. Bake until the filling is bubbling and the crust is browned, 40 to 45 minutes. If the edges of the pie crust are browning too quickly, cover the edges of the pie with aluminum foil during the last 10 minutes of baking. Let cool on a wire rack for at least 2 hours before slicing and serving.
(Meghan Splawn was the editor for Skills content TheKitchn.com, a nationally known blog for people who love food and home cooking. Submit any comments or questions to editorial@thekitchn.com.)
©2025 Apartment Therapy. Distributed by Tribune Content Agency, LLC.


Comments