
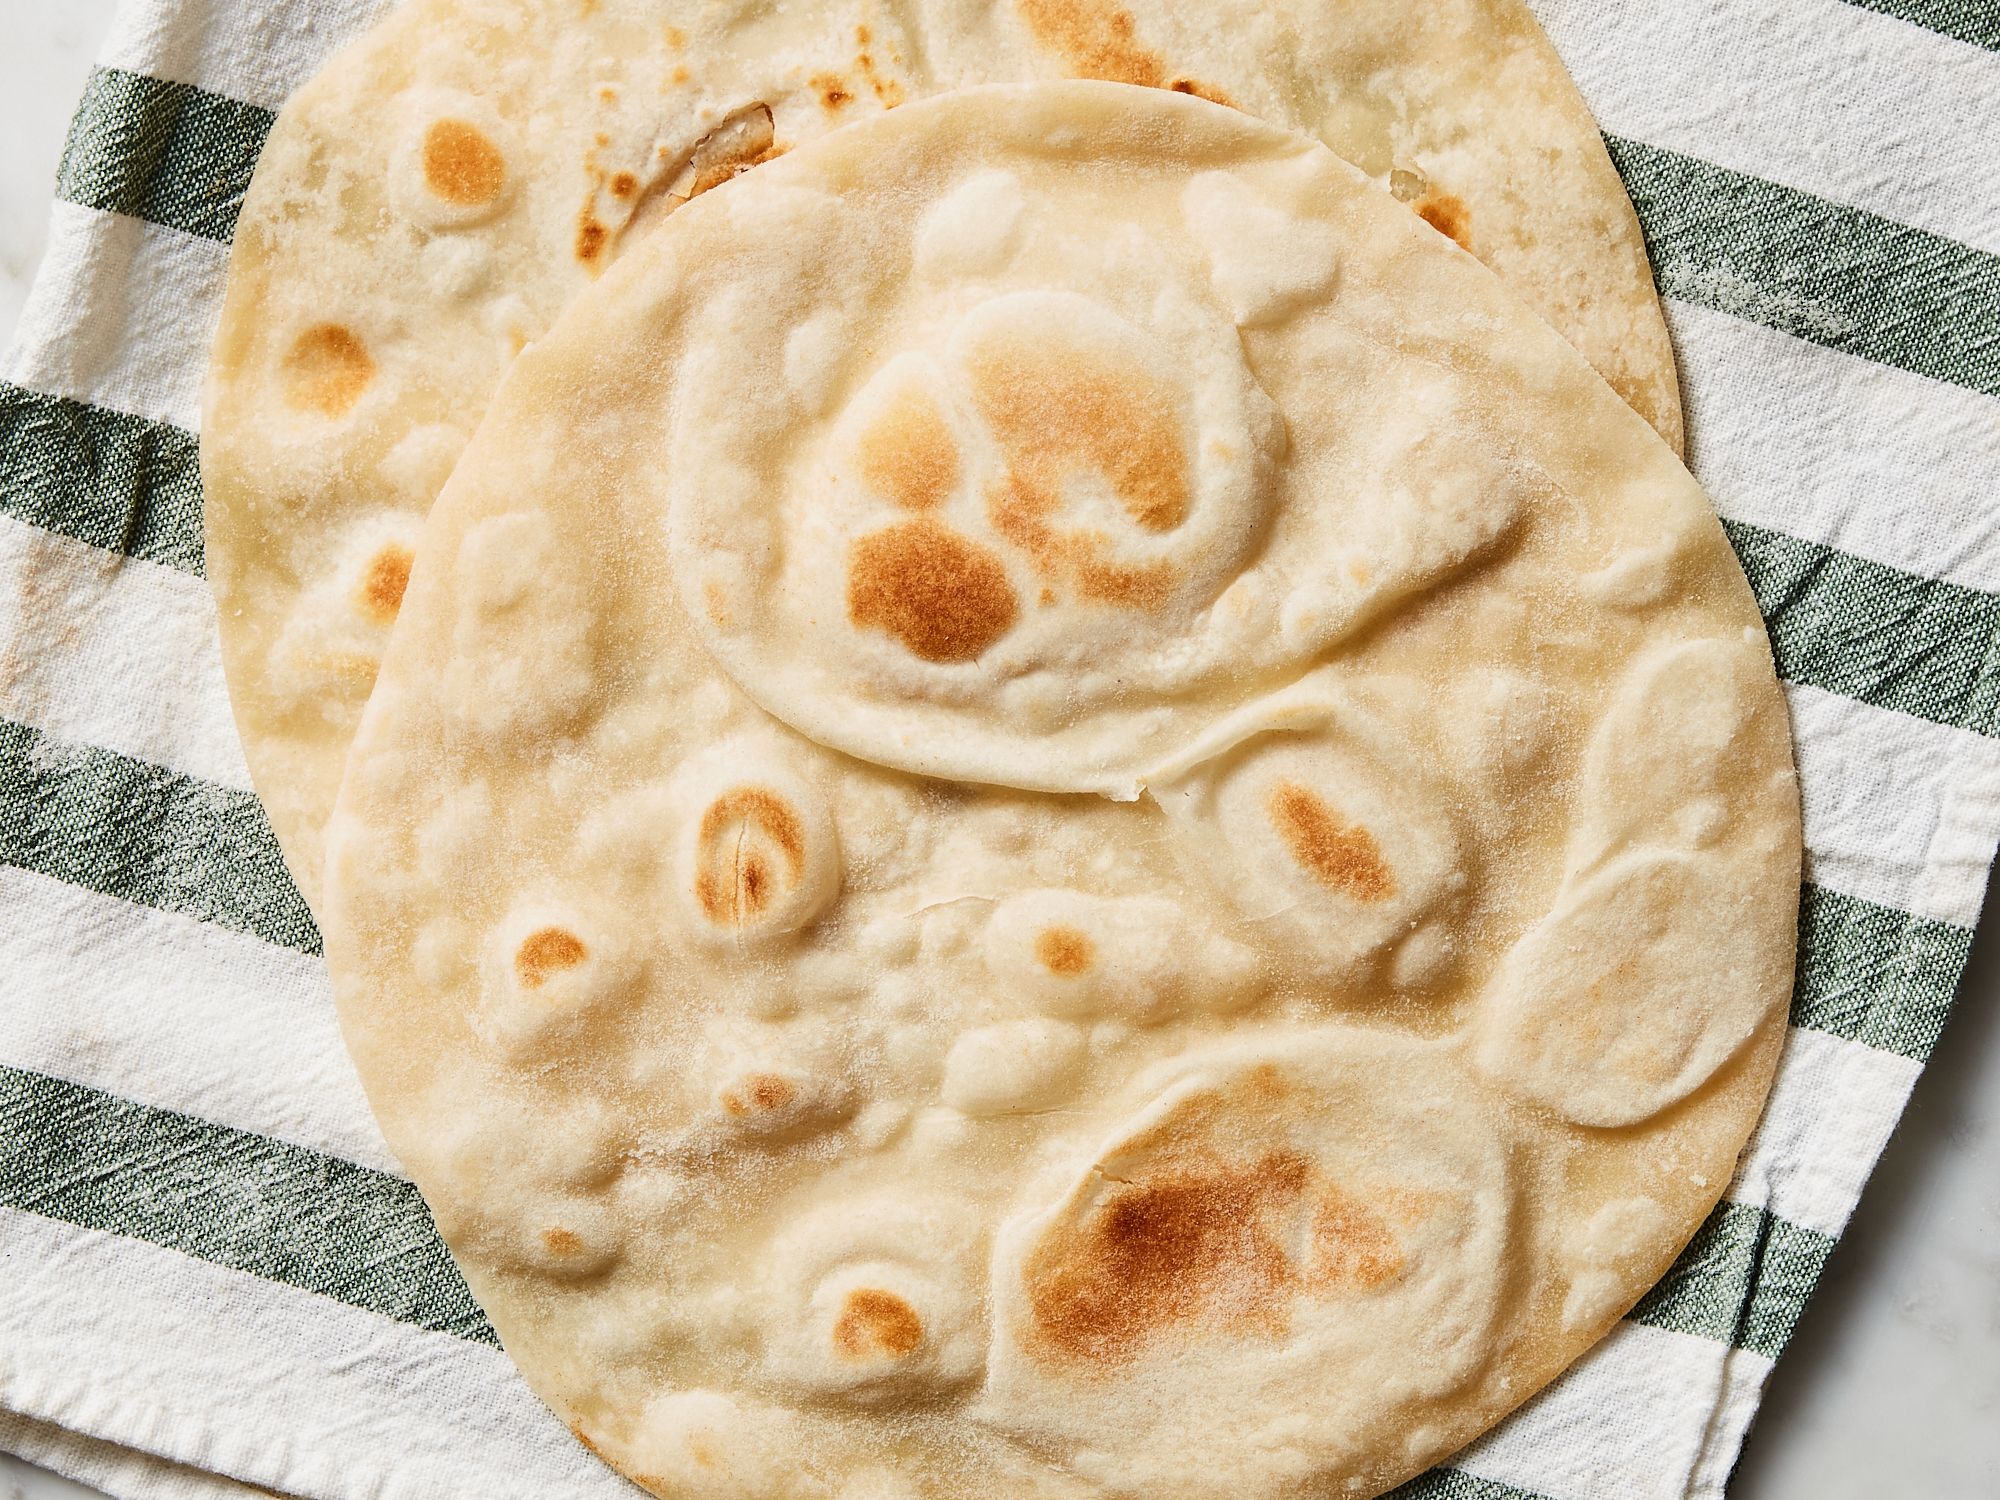
The Kitchn: Homemade flour tortillas taste like biting into a soft, buttery cloud
If there’s something that marks a distinction between the gastronomy of Northern Mexico from the rest of the country, it’s the region’s pride in flour tortillas. Traditional flour tortillas from Mexico are a mix of four simple ingredients: all-purpose flour, water, fat, and salt. The homemade process is very similar to artisan bread making: The combination of kneading, shaping, and resting fully hydrates the dough and encourages flavor development. After stretching the dough and placing it on a hot pan, in less than a minute you’ll have a tortilla that puffs up and fills your home (and sometimes your neighborhood!) with an irresistible, toasty aroma that beckons you closer.
The northern practice of making homemade flour tortillas is the gift of our Mexican grandmothers (and all our ancestors that came before us) of feeding their young, a tradition that started almost 500 years ago. Even though they’re available in almost every supermarket, trust me when I say that once you taste homemade flour tortillas you’ll wonder why you didn’t start making them sooner. With this easy recipe, you’ll never want to buy them from the store again. And remember: the first handmade flour tortilla is always enjoyed warm and slathered with butter. Here’s how to make them.
Why you’ll love it
They’re incredibly soft and tender. In this step-by-step guide, I’ll walk you through making the fluffiest, most delicious homemade flour tortillas.
They taste amazing. Their mild, slightly sweet flavor — like biting into a soft, buttery cloud — goes with everything and anything.
Tips for making perfect flour tortillas
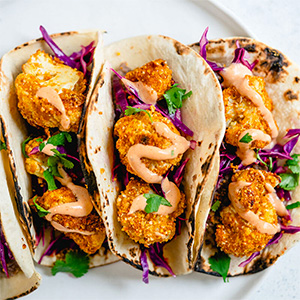
Ways to use flour tortillas
Flour Tortillas (Tortillas de Harina)
Makes 12 (8-inch) tortillas
3 cups all-purpose flour, plus more for dusting
1 teaspoon kosher salt
1/2 cup fat, such as vegetable shortening, unsalted butter, or pork lard
1 cup water
Vegetable oil or cooking spray
1. Combine the fat and dry ingredients. Place 3 cups all-purpose flour and 1 teaspoon kosher salt in a large bowl and stir to combine. Melt 1/2 cup fat in the microwave or on the stovetop. Add the fat to the flour mixture and mix with your hands until it resembles sand.
2. Mix in the water. Heat 1 cup water until hot but not boiling. Slowly add 1/2 cup of the hot water to the flour mixture and mix with a flexible spatula or spoon until the dough feels less hot. Slowly add the remaining water a little at a time (you may not need all of it) until the dough feels sticky but not loose. As the dough comes together, pay close attention to how the dough feels in your hands, as it may need more or less water. This has to do with how fresh your flour is and the humidity in your kitchen.
3. Knead the dough. Transfer the dough to a work surface. Knead by hand until it feels soft, slightly oily and elastic, neither dry nor loose and when you make indentations with your fingers, and slightly bounces back when pressed, 7 to 10 minutes. The dough will feel very sticky at first and might stick to your hands and work surface, so avoid the temptation to add more flour - it will become less sticky as you continue to knead.
4. Make the dough balls. Divide the dough into 12 lime-sized portions (about 60 grams each). Next, pinch the bottoms. Cup your hand over each dough ball and roll on the counter (bottoms facing down) until the top is smooth and tight.
5. Let the dough rest. Coat a medium bowl lightly with vegetable oil or cooking spray. Add the dough balls and cover with a kitchen towel, plastic wrap, or both. Let rest for at least 20 minutes or up to 1 hour to hydrate.
6. Roll out the tortillas. Heat a griddle, large cast iron skillet, or large nonstick pan on medium heat while you shape the tortillas. Lightly dust a work surface and rolling pin with flour. Roll out one dough ball at a time, keeping the remaining covered to prevent drying out.
Place on the work surface and flatten the ball slightly by pressing with your hand. Begin rolling from center to top (away from you) using light to medium pressure to start, then roll center to bottom (towards you). Rotate the dough disc 45 degrees counterclockwise, then continue to roll from center to top and then again from center to bottom. Flip the tortilla and continue to roll and flip several times until you have a round tortilla about 1/8-inch thick and 8 inches wide. To make any last adjustments, lay the tortilla in the palm of one hand, and with your opposite hand using your fingers stretch any uneven ends.
Place the tortilla on a kitchen towel and repeat rolling out the remaining balls, placing them on a single layer on the towel. If you’re having a difficult time rolling, place the dough balls in the refrigerator for a few minutes, then take out and try again.
7. Cook the tortillas. Gently place the tortilla in the pan. If the tortilla lost some of its shape, quickly stretch the ends with your fingers. Cook until the edges of the tortilla slightly change color and no longer look translucent, 10 to 15 seconds. Flip with your fingers or a spatula and cook until the bottom is lightly browned spots and some bubbles start to appear on the surface, 25 to 30 seconds. Flip once more and wait until you notice the air bubbles are more pronounced or it puffs (to encourage puffing, press along the edges of the tortilla using your finger, a clean kitchen towel or a spatula), 15 to 20 seconds. Flip and wait a few more seconds if needed to allow any last-minute puffing or browning.
8. Continue cooking the remaining tortillas. The tortilla is ready when the color has changed from translucent to white and both sides have light to medium brown spots. Transfer to a tortilla basket, or a large plate lined with a kitchen towel. Cover to let steam. Continue cooking the remaining tortillas, stacking them on top of the first.
Recipe notes
Make ahead: You can partially cook the tortillas up to one day ahead, then fully cook them when ready to serve. Do this by cooking them lightly on both sides on medium-low heat, not allowing them to puff, to only develop light brown spots and removing them sooner from the heat. Cool and refrigerate in an airtight container.
When ready to serve, heat the pan on medium heat for at least 5 minutes. Add a tortilla and wait 10 to 15 seconds. Flip and wait 10 to 15 seconds more. Do this a couple more times, or until both sides have medium brown spots and some air bubbles appear or puffing occurs.
Storage: Let the tortillas cool completely before refrigerating in a plastic zip-top bag or airtight container for up to seven days. To reheat, place in a griddle or pan on medium heat and heat until warmed through, a few seconds on each side.
How to freeze: Freeze flour tortillas in a freezer-safe zip-top bag. Place a piece of parchment paper between each tortilla to prevent them from sticking together.
(Alex Cardenas is a contributor to TheKitchn.com, a nationally known blog for people who love food and home cooking. Submit any comments or questions to editorial@thekitchn.com.)
©2025 Apartment Therapy. Distributed by Tribune Content AGency, LLC.


Comments