
Ask the Builder: Installing subway ceramic tile
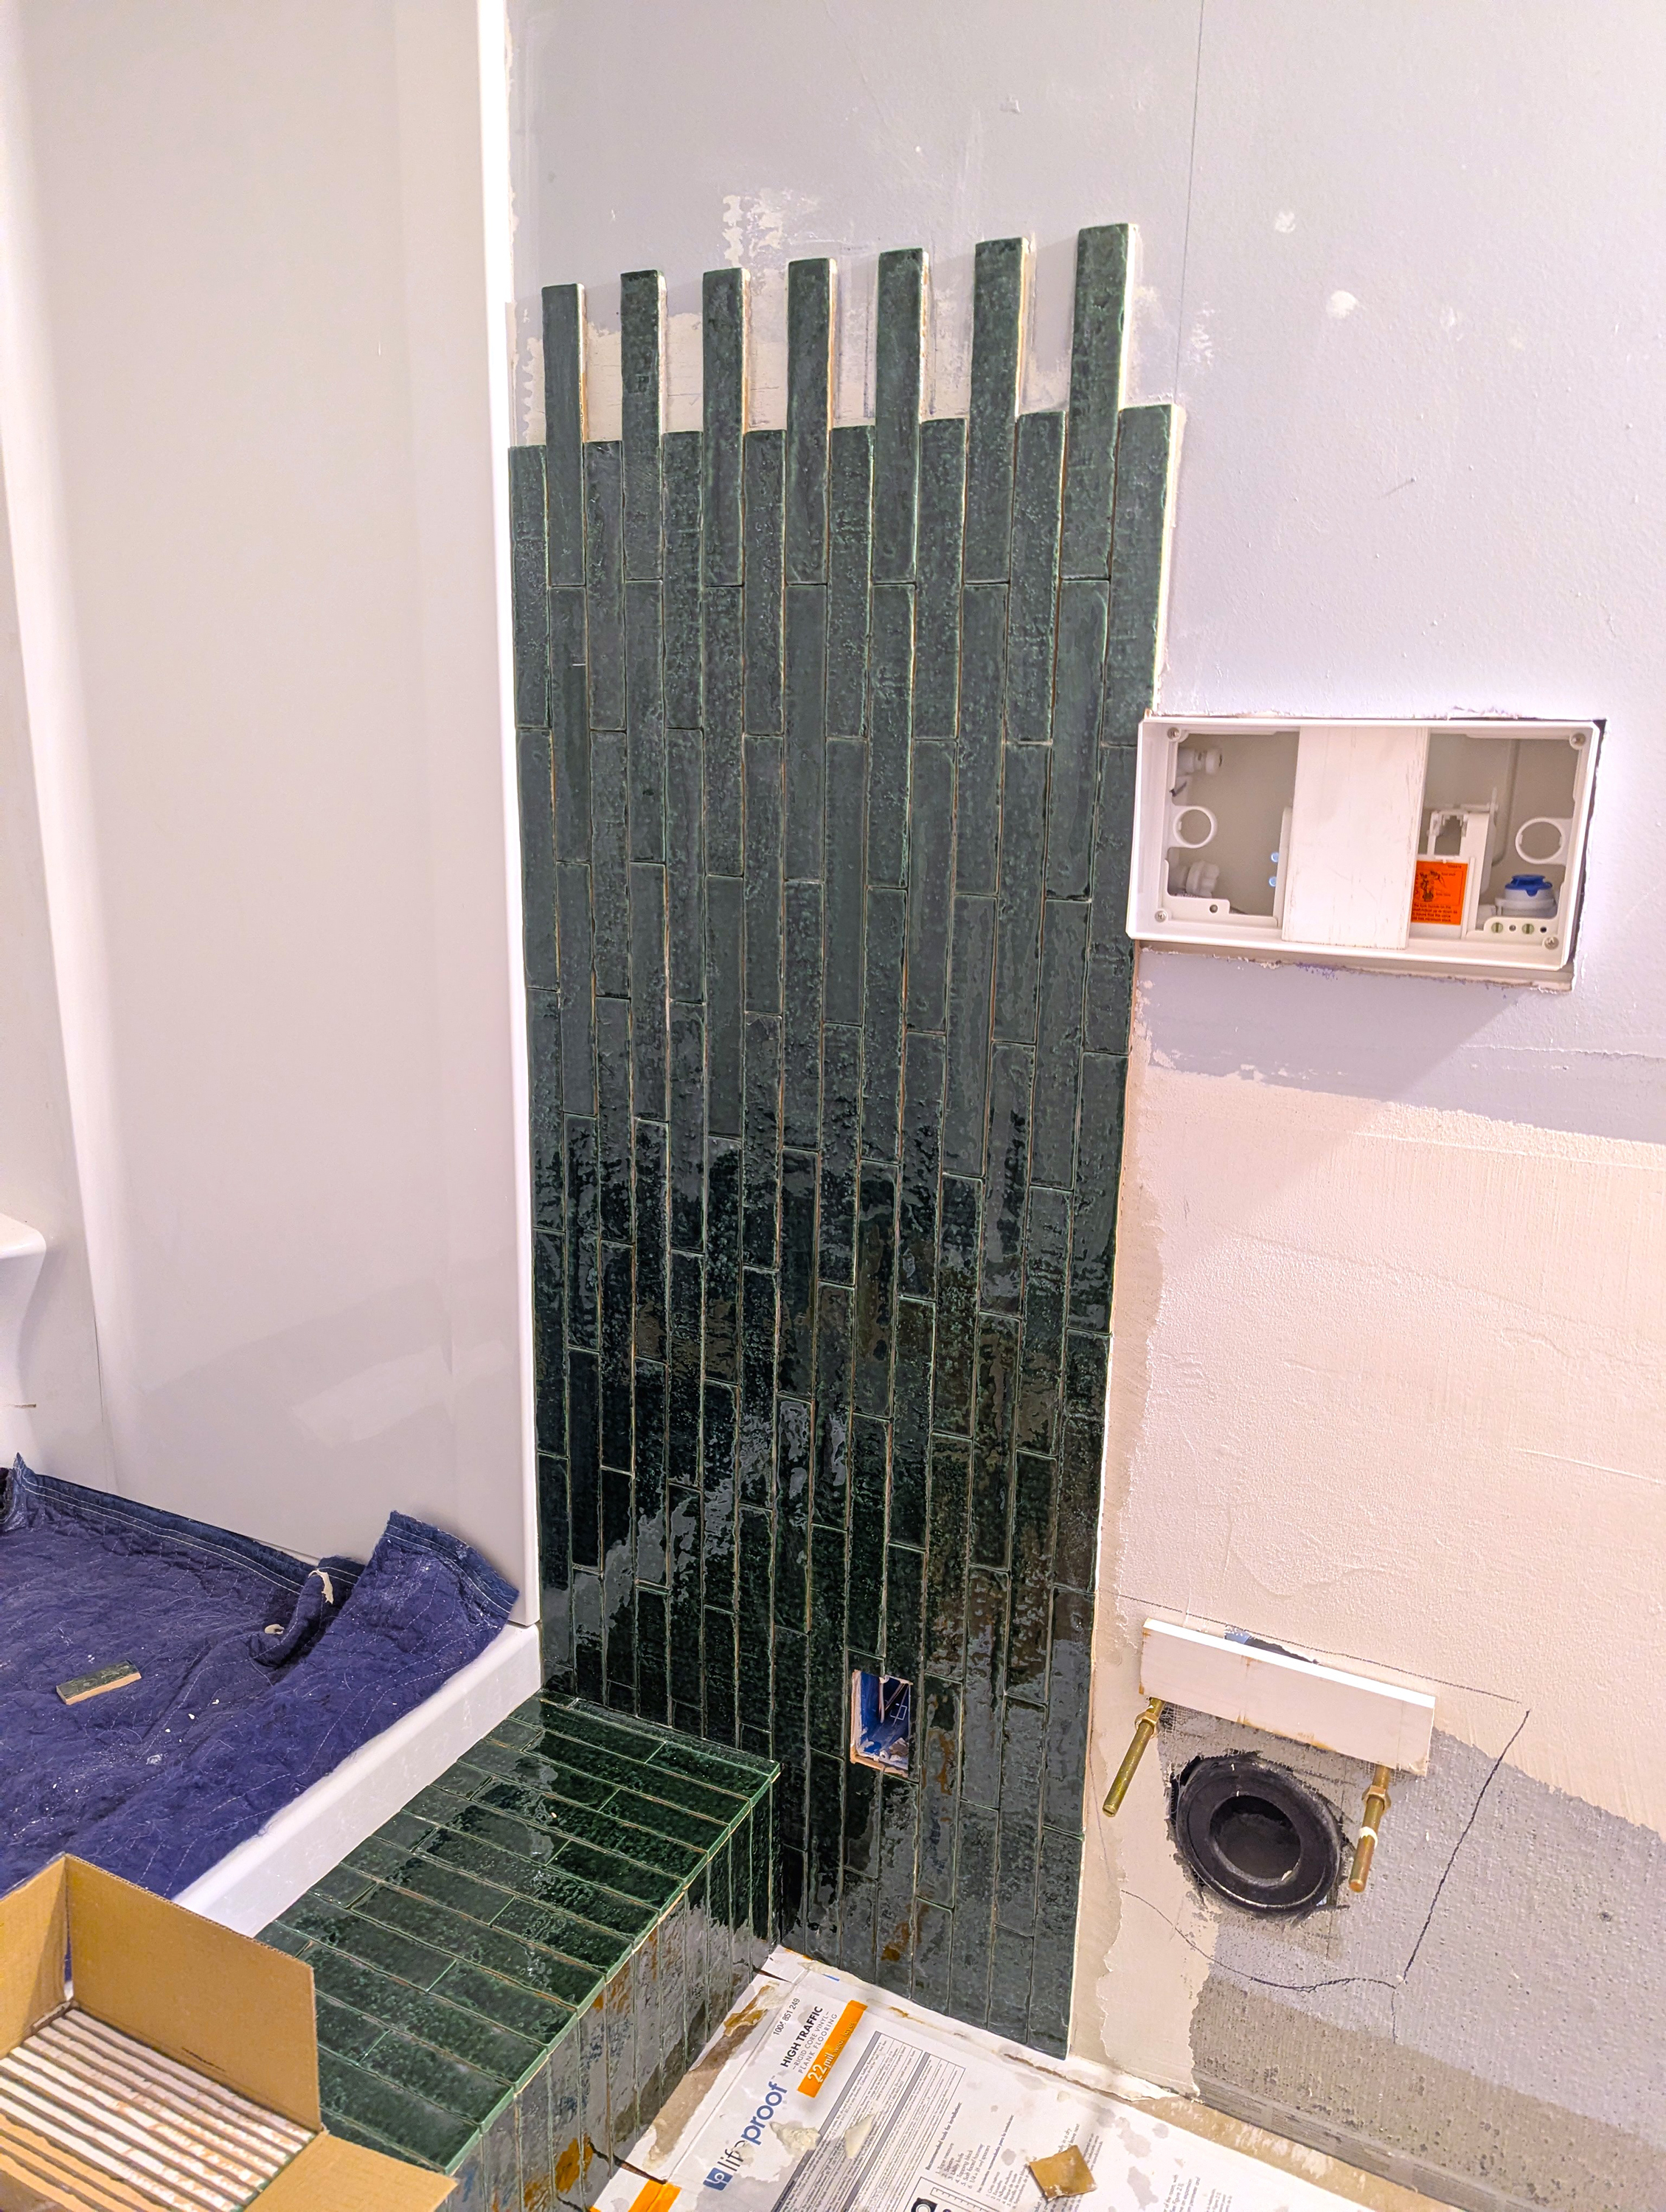
I have been installing stunning green subway tile the past two weekends in my son’s new basement bathroom. Subway tile is rectangular in shape. The grout joints between each tile have the same back-and-forth staggered pattern as mortar joints between bricks in a wall. It’s a fascinating look, and one you should give serious consideration to should a tile job be in your future. The colors, textures and crackled glazing in some subway tile will take your breath away.
This bath is next to a speakeasy bar. The overall theme of the entire basement remodeling project is Art Deco. Subway tile is most often installed horizontally, just as you see most brick walls. My son likes to test my skill level, so he said, “Dad, I want to install the subway tile vertically on the walls in the bathroom. I think it will be stunning.”
He was right. We have just one more day of setting tile before we grout, and the bathroom is going to garner all sorts of oohs and ahs from his friends and neighbors. This bathroom, once finished with the sleek wall-hung toilet and vanity with a copper sink, might qualify for a Better Homes & Gardens cover photo.
I’ll never forget my first ceramic tile installation. I was 23 years old and thought, “How hard can this be?” I installed ordinary 4x4 tile above a bathtub. I discovered within minutes that the error tolerance is about 1/16 inch. Level and plumb lines created using a high-quality level are a must because each decent tile is perfectly square. One tile out of alignment will throw off all other tiles that abut it.
All that said, I feel you can do a simple subway tile installation. The best part is I offer phone coaching if you need some extra inspiration or help.
Subway tile poses a unique challenge. Each row needs to be in a very straight line. High-quality tile makes this easy because the tile is created with small self-spacing edges. The tile will stay straight as long as the first row is straight, level or plumb, and you apply the perfect amount of adhesive to the walls. You don’t want adhesive to ooze up in between adjacent tiles. This extra adhesive can alter the alignment.
There are two primary types of adhesive you use to set ceramic tile. One is an organic mastic that resembles cool cake icing. It spreads with relative ease using a notched trowel. Organic mastic is fine for wall installations where heavy objects will not subject the tile to concentrated pressure. The mastic retains a small amount of flexibility once it’s cured.
Ceramic tile is weak in tension. This means that if you press on a tile and it flexes, it will crack. I discovered this decades ago when I used mastic to set tile on a restaurant kitchen floor. The tiles cracked when heavy equipment or table legs pressed down on the tile. I had to remove the broken tiles and replace all of them using thinset mortar. Thinset is nearly identical to brick mortar and hardens like rock with no flexibility.
Thinset mortar, in my opinion, is the best adhesive to use. It’s waterproof. Thinset is a blend of fine silica sand and Portland cement. It can often contain polymers that enhance adhesion. It often contains a chemical retarder that slows down the chemical reaction that causes thinset to transform into rock. This retarder helps to extend the working time of the thinset. You need to press the tile into the wet thinset within several minutes of it being applied to the wall or floor. This ensures you get a great bond between the tile, the thinset, and the substrate the tile is applied to.
Notched trowels are used to spread the mastic or thinset. You match the notch size to the tile size. The tile manufacturer often provides tables to help you get the right trowel. Glide the trowel over the substrate at a 45-degree tilt as you spread the mastic or thinset. This will allow you to apply the perfect amount of adhesive.
You’ll have to cut tile to fit around electrical boxes and water pipes. Straight cuts can be created using an inexpensive tile snapper for most tile. The snapper has a carbide wheel that scratches the glazed surface. Once scored, the tile will snap along this line just like one cuts glass.
Porcelain tile can only be cut with a wet or dry saw. You can’t use a snapper and expect straight lines.
Wet saws or dry tile carbide blades are required to make L-shaped cuts. You can purchase a decent wet saw with a diamond blade for several hundred dollars. I have a professional wet saw that makes perfect cuts. It might make sense for you to purchase a high-quality saw and sell it once you’re done with your job. Pros are always looking for used wet saws in new condition.
You can cut circular holes in subway or other tile, using inexpensive diamond hole saws. They come in many different diameters. The tile needs to be clamped to a solid surface when making the cut. Use a slow drill speed to create the hole in the tile.
You’ll discover it pays off in spades to spend time thinking about the layout of your tile. Subway tile, and most other tile, likes to be centered. You want to minimize, if possible, cutting thin pieces where the tile abuts an adjacent wall. Thin strips of tile must be cut on a wet or dry saw.
Grouting your subway tile is the easiest part of the job. Water is your biggest enemy. It’s best to use wall grout for thin grout lines that are 1/8 inch or less in width. Wall grout doesn’t contain sand. Sanded grout is made for wider grout joints.
The grout should be the consistency of warm cake icing. A stiff rubber float is used to apply it. I have a four-part video series at www.AsktheBuilder.com showing how to grout tile. I suggest you watch the videos. I spend quite a bit of time explaining why water can ruin all the hard work you invested in your tile job.
Subscribe to Tim’s FREE newsletter at AsktheBuilder.com. Tim offers phone coaching calls if you get stuck during a DIY job. Go here: go.askthebuilder.com/coaching
©2025 Tim Carter. Distributed by Tribune Content Agency, LLC.


Comments